Archive
Tagcloud
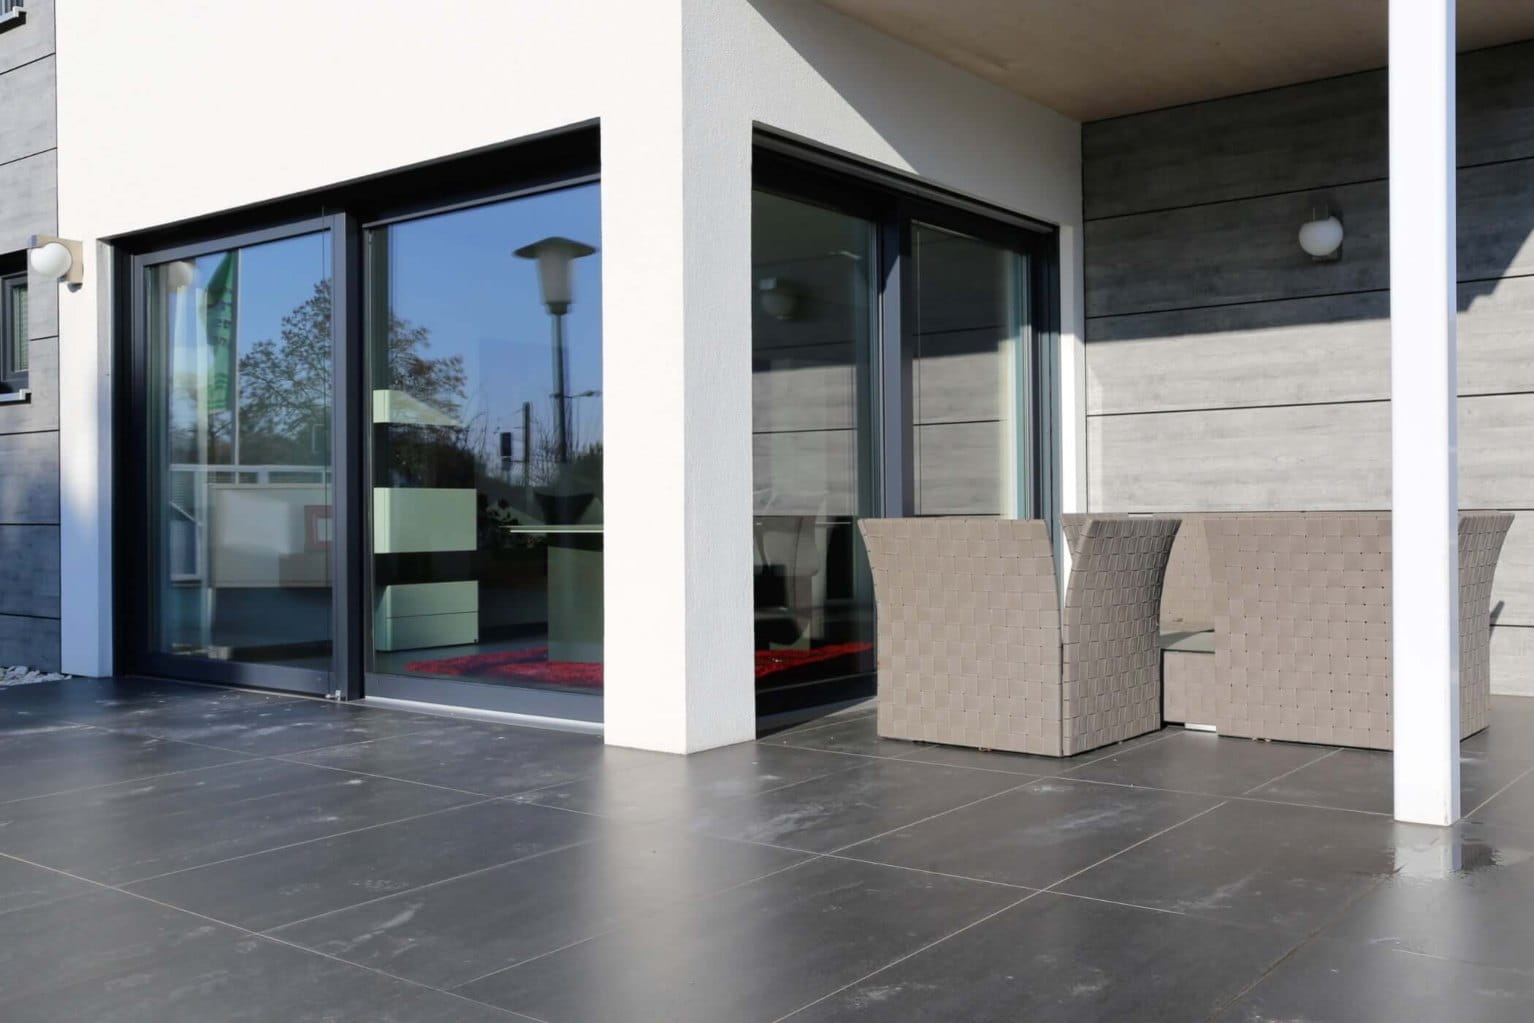
Three Tips to Successfully Install Tile in Outdoor Living Spaces

Since the beginning of the COVID-19 pandemic, outdoor living space trends remain on the rise as many homeowners who were sheltering in place developed a renewed interest in their backyard spaces to get year-round usage from their outdoor areas. Whether it may be installing an outdoor kitchen, patio and/or lounging area, an exterior renovation can be a functional extension of one’s home, these areas are of key interest to homeowners.
Various reports have come out stating an increase in outdoor living projects, including the National Kitchen & Bath Association (NBKA), which reported a 65% increase in its annual trend survey completed by its database of designers, manufacturers, retailers, distributors and allied professionals. The report also found that outdoor kitchens are increasingly in high demand, with 60% of respondents planning to upgrade existing spaces for more functionality and better aesthetics.
In particular, the use of tile for outdoor renovations has become increasingly popular thanks to tile’s unique visual aesthetic and unwavering versatility. From floors, backsplashes, countertops, pools, patios and more, tile can be installed on a multitude of outdoor surfaces. When utilizing tile to elevate an outdoor space, it’s important to understand the three critical steps to achieve a successful installation for the look desired.
1. Before Starting the Project, Consider This…
Installing outdoor floor tiles is very similar to installing indoor tiles, however, tiles installed on the exterior are more commonly exposed to certain elements and other hazards a home’s interior is not. Unlike tile used for interior spaces, outdoor tiles need to be very strong to be able to withstand varying degrees of exposure to weather conditions, water and light. For example, if a homeowner lives in an area frequently exposed to freeze and thaw cycles, an outdoor tile that can accommodate these conditions is a necessity.
Porcelain tile and stone are most commonly used in outdoor installations because they are thicker, denser and are able to handle foot traffic, as well as prevent water absorption. However, to make sure the installation of tile on a home’s exterior is done correctly and efficiently, a complete evaluation of the entire installation assembly should be considered to ensure that all of the installation components, including the finishes, are appropriate for these demanding applications.
It is important to acknowledge all aspects that factor into guaranteeing a successful installation. We suggest consulting with us for the proper selection of underlayment products, membranes, tile and stone mortar, grout and other installation products before starting your project.
2. Properly Prepare the Substrate
The most important task in laying outdoor floor tiles or stone is surface preparation. If the tile installation is on the ground, a solid concrete base is required, but if the tile is being set onto a wall or other surface, a substrate such as concrete, concrete masonry units (CMU) or a cement backer board will be needed. For a ground installation, if the substrate is in poor condition − whether that be not dry enough or properly cleaned before using leveling products − the finished flooring performance will be compromised. The installer will need to verify that all of the surfaces surrounding the tile are sound, clean, level and meet minimum deflection requirements.
Once the mortar bed or patch is set, it is crucial to test that the surface is as flat as possible before installing the tile or stone. This step can prevent hours of corrective work and costly repairs later on due to puddling, lack of slope to drain and/or lippage. A waterproofing and crack isolation membrane should also be employed to reduce transmission of cracks through the surface, eliminate water leakage and decrease efflorescence.
3. Install the Tile
Once the substrate is prepared, we then recommend laying out the tile to confirm the squares align correctly. If the existing concrete slab has expansion joints, we suggest planning the tile layout so that the joints are aligned with the grout line and a soft joint material (e.g. LATICRETE® LATASIL™), tile or natural stone silicone sealant is used. After the layout is complete, the tile can be applied with an exterior-grade thinset mortar (e.g. MULTIMAX™ Lite or 254 Platinum). The installer should then apply the mortar to the substrate as well as the back of each tile to prevent air spaces beneath, finishing by tapping each tile with a mallet to make certain the tiles are well-bonded. Following the tile placement, spacers ought to be situated between tiles to not only create even spacing, but to generate straight and uniform grout lines for an aesthetically pleasing end-result.
Subsequent to the tiles being dry and firm, the application of grout jointing materials formulated for high strength and flexibility (e.g. PERMACOLOR® Select) will need to be installed. For installation of unglazed porcelain tile or a stone product, pre-sealing the tile with STONETECH® Heavy Duty Sealer can help make the cleaning process much easier. For outdoor installations, high bond strength products are ideal because they are durable enough to resist deterioration from exposure to sun, freeze/thaw cycling, pollution and exterior maintenance regimens.
After the spacers are removed and the grout is applied, we recommend that the installer wipe the excess grout and allow for it to dry. Once this has been achieved, applying a grout sealer will complete the installation. Grout sealers not only help protect the grout from spills and stains, but they can help prevent mold and mildew staining, lower the absorption rate of the grout and slow down wear-and-tear from outdoor elements.

Always Consult with an Expert
By incorporating tile in an outdoor renovation project, consumers can unleash a world of design possibilities and achieve a flawless, minimalist appearance for any outdoor residential or commercial space. As the modern design trend remains popular among consumers and installation professionals, the demand for tile and stone shows no signs of stopping.
As stated above, it’s important to acknowledge all aspects that factor into ensuring a successful installation. Consult a tile and panel manufacturer before selection and installation to determine proper suitability for the intended area of use and the specified project. In addition, consult with LATICRETE for assistance on the proper selection of the installation materials.